Thursday, August 9, 2018

New renders

I've spent quite a lot of time staring the Cinquedea as my computer wallpaper. I'm rather surprised how well the design has withstood time. However the same renders started to seem a bit dull and I decided to make a couple more. Had lots of fun getting back to 3ds Max and iRay.


As a little treat to myself I ordered one of the renders as a 50 cm x 70 cm sized poster and framed it on my wall. Came out a tad darker than I hoped but rather sweet never the less!


Tuesday, October 20, 2015

Here we go again!

Finally the time to show the little something I've been tinkering since April 2014. This is supposed to be the little brother for the Stiletto I made earlier. Maserati/Aston Martin class GT cruiser.

I wanted to emphasize the front engined configuration with the quite long nose and very compact rear end. Making the car look balanced was actually rather difficult. Maserati Granturismo was therefore used as a background when drawing the blueprints of this Cinquedea as I decided to name this.

Choosing "the one colour" for the renders was literally impossible. I played around with a dozen of different colours but I guess my favorite from the lot is the dark brown seen in the last four. The same four are the only renders made this fall. All the others have been laying on the hard drive for a good half a year by now.

There are four renders with a background from the spinning mill I visited a year ago. These are presented first. The rest of the images are rendered with a simple studio setup and the same HDR-panorama the Stiletto was rendered in its time.

Please click the images to see them larger. Even larger ones can be seen through the link below each image.


 I'm rather proud of it myself, I must admit. I hope you like it too. Feel free to leave your thoughts below in the comment field.


Monday, October 19, 2015

Year and a half of work - sort of

It's been a bit too long since my last post. Over a year actually. Sorry for keeping it quiet, but since the last post a lot has been going on. I've built a couple of 3D printers and playing with them along the school has kept me rather busy.

A lot has happened with Cinquedea, as well. In last autumn I took a half hour long photo shoot to photograph a needed 360° panorama for the background of the final renders. The panorama consists of three different exposures to illuminate the final renders. I chose an old spinning mill in Forssa as location - very beautiful area of red bricks in autumn sunset. The flattened 8 bit panorama can be seen below. The version used as background is in 32 bit depth and over 100 Mb in size.


In addition to the background there has been a lot of other stuff to make. Interior materials have been thought over and a ton of little details have been dropped in and out of the car: meshes, badges, lights, mirrors and so on. Suddenly I noticed it is rather difficult to show any work in progress any more without showing the final result. The car was almost finished.


Even with the light plane studio I made to catch all the flaws in the mesh with sharp reflections I encountered a ton of difficulties when making the body panel gaps. My mesh was often too dense and not thought over. This created weird bumps near the panel gaps. I spent a couple of weeks fixing all the errors and ended up in a point where I needed a break before the final renders.

Final teaser before showing the whole thing tomorrow! Something I made to keep my phone's lock screen a tad prettier.


Saturday, August 9, 2014

Interior almost done

One of the most scary parts of the project has been done. I have some bad memories from last year when I had to Unwrap UVW for the interior of the Stiletto. I started with the steering wheel since the material are divided so that it makes selection easier. For some reason all the selection tools are not working with Unwrap UVW modifier.

What is unwrapping? It's telling the program how to map the textures and materials of the objects'. Imagine you had a piece of leather and a ball. If you had to wrap the leather around the ball you would have to make cuts to the leather somewhere, wouldn't you? It's the same thing basically. Click here for a short tutorial about the subject.

I took a couple photos in the Pick Nick car event (see last post) of car interiors. I used a photo of a leather of a Corvette seat and turned it into a tileable pattern in Photoshop. That would do the job for the diffuse map. Then I turned the diffuse map into a bump and glossiness map using curves and levels. Got to say the result is pretty neat. The base was Arch&Design material. For the brushed aluminium I used the Iray-material and tweaked the brushed aluminium preset a bit. I added a map into the reflection coating the make the brush strokes visible. You can see both the material in a closeup below.


I made the gauges a bit smaller and pushed them further back. They were a bit too much on-show like you see in this render.


Once I was happy with the interior (the roof of the interior still needs to be done) it was time to spend some time thinking how I would like the headlights to turn out. I took a render of the front and then rendered a couple different headlights with Photoshop. Got to say the second one is a bit too futuristic for a car with classy lines like this. Oh, and look a that front spoiler-thingy. It's gotten itself a carbon fibre cover.


Monday, August 4, 2014

Pics from Pick Nick added to the Photography section

Yesterday there was a huge event for American cars in Forssa. I added the best pics to the Photography section. Go check them out!


Saturday, August 2, 2014

Interior coming along nicely

The making of the interior has been pleasant suprise! I was quite afraid of it at first since I had some trouble when making the interior for the Stiletto last year. I began by modeling the steering wheel. Again, lots of sketches were made and the one I was satisfied had some Photoshop to make a decent blueprint. The progress was very similiar to that I used modeling the rims. 


First I made the the torus (donut would just as accurate), then extruded and beveled the spokes. Symmetry was of course used so I only had to model half of the steering wheel. When making the steering wheel I noticed how useful the extrusion actually is since it keeps the mesh clean of triangles. The seats were modeled using boxes as basic shapes. Then quite a bit of beveling and chamfering were added to find the right shape. I also tried to add stiching to the steering wheel, and although it looked splendid it added quite a bit of extra geometry propably many would not notice. I doubt I will make any closeup renders of the interior when everything is finished.

Splines were suprisingly useful as well. The whole dashboard/floor was made by extruding a spline of the side profile. I saved probably 5 hours of work compared to the same part in the Stiletto.

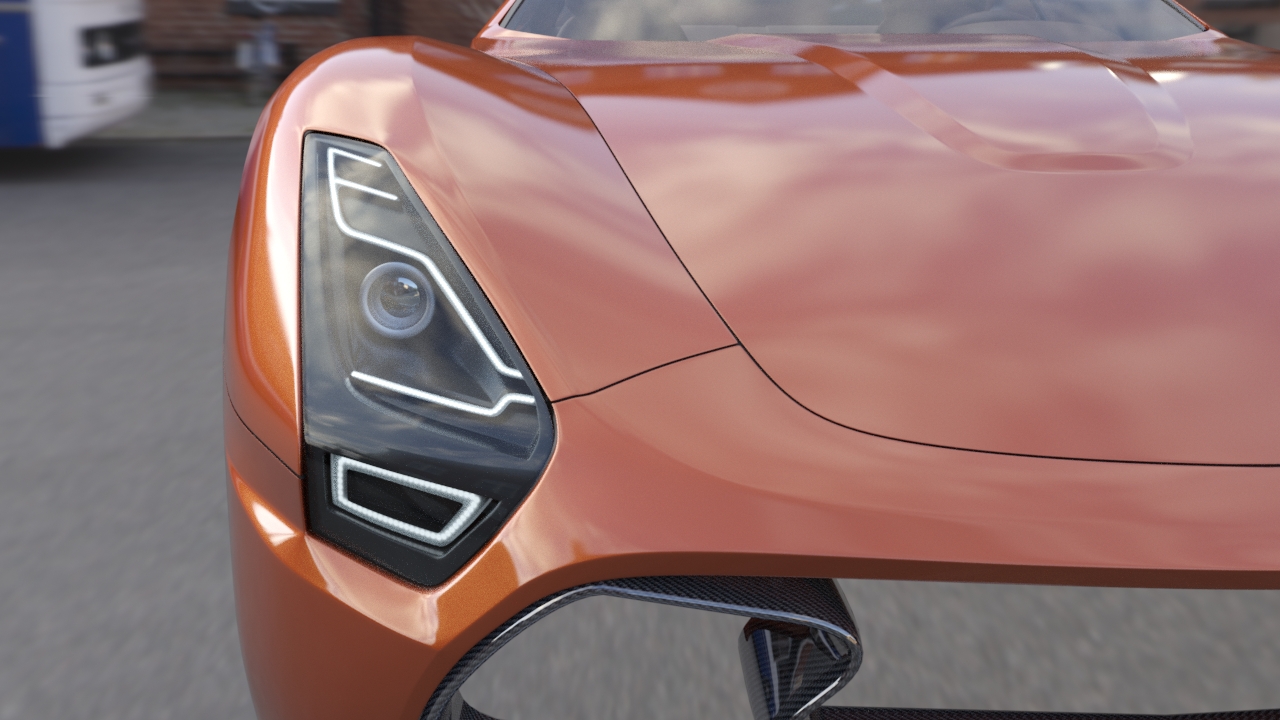
A couple of renders to show off the progress.


I half-accidentally made a good way to make the gaps between body panels. Here is a quick tutorial.

1. Let's start with a simple sphere. I already converted this to Editable Poly and selected a ring of edges. When modeling a car these edges are the ones where you want to add a gap.

2. Add chamfer.

3. Bevel the faces inwards a couple of times with zero outline.

4. Bevel one more time. This time the outline should be larger than in the step 3.


5. Make a Multi/sub-object material with one material being pitch black. Easy way to make such is choosing Standard to start with and then taking colour and glossiness to zero.

6. Add the material to your object and choose the material ID of the highlighted polygons corresponding to your pitch black. This method works rather well with turbosmooth and doesn't force you to add open chamfers.


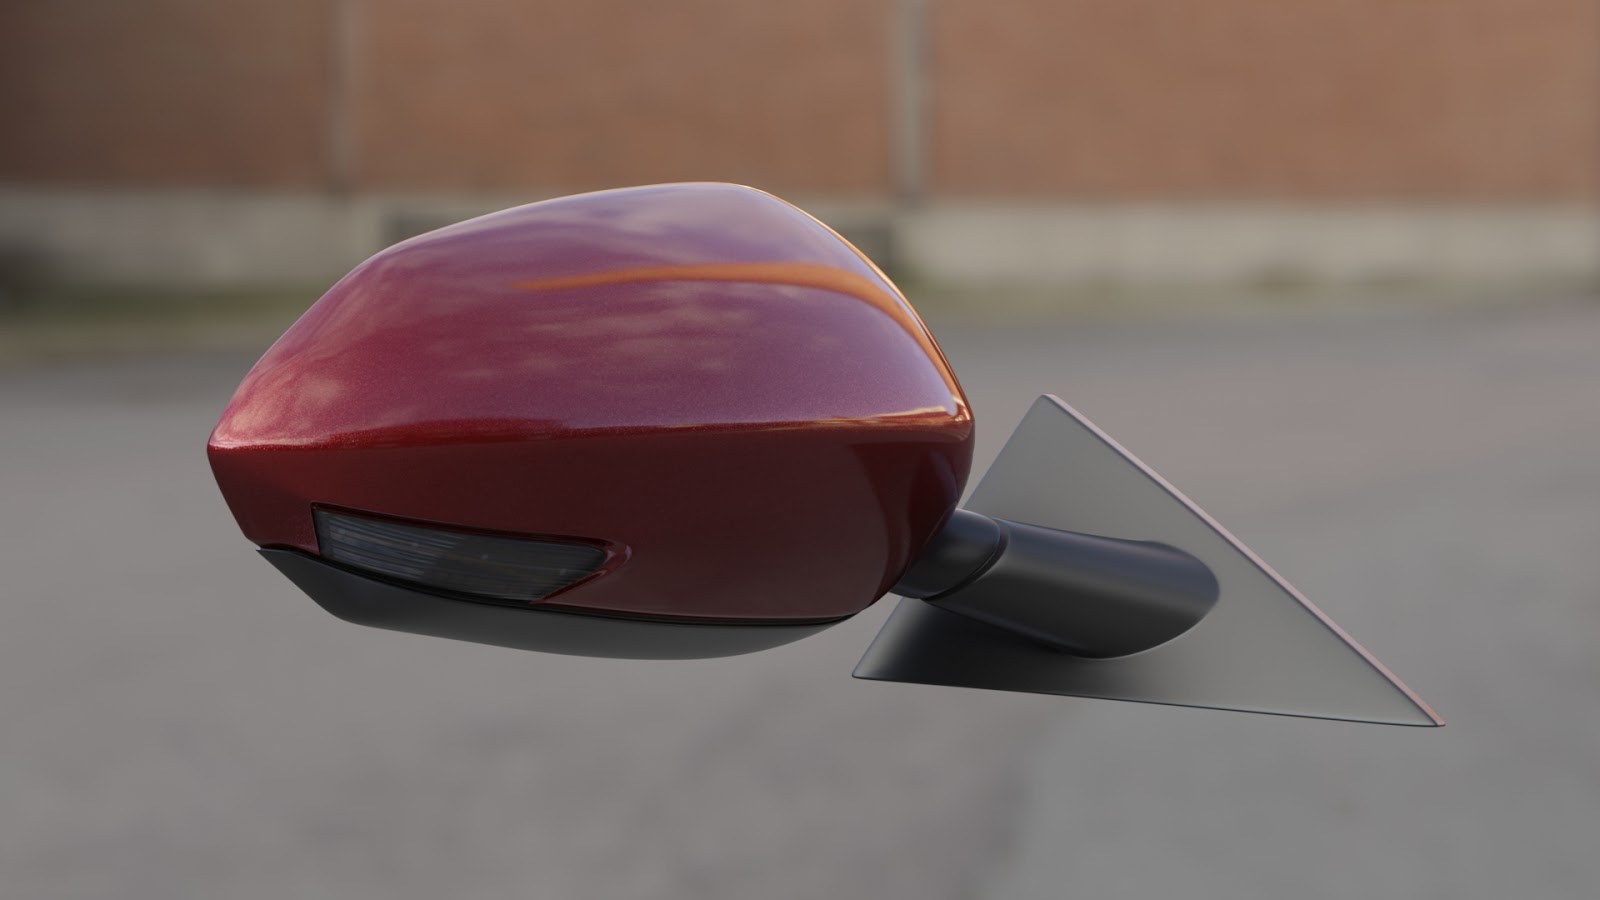
Most of the panel gaps in the car are modeled already. Here is a little closeup.


Tuesday, July 22, 2014

Chamfering - done

Well, almost done at least! I must say, even it took more than a week to smoothen the edges of surfaces, it all went better than expected. Sure the experience from working with Stiletto helped a lot. 


As you can see from the wires there was quite a bit geometry to add.

Here is some stuff I learned within the past week:

1) It's better to avoid triangles as much as possible. They don't mess up the mesh at first but after adding TurboSmooth the weird corners and bulges start to appear.
2) Using splines to make smooth surfaces might be a good idea to try. Like I've said earlier it took quite a bit of work to get the surfaces smooth and after chamfering I had those annoying wobbly reflections all over the place once again. I was able to fix this rather well by making a spline from the edges that run down the hood, deleting at least every other point of the spline and then, by using snaps, attaching all the verticles to that spline. Splines are much easier to make smoothly curved. I hope the picture below explains the idea.


3) Beforing chamfering the corners it's useful to add an Edit Poly -modifier to you modifier stack. This allow you to still make basic changes (moving vertexes) to your unchamfered model which has a lot less geometry and is thus easier to work with. 

In addition to chamfering the body I also modeled rims and tyres. There were many good tutorials but I followed this for the rims and this for the tires. I'm pretty happy with the rims. It took quite a bit of head scratching to find a design I was happy with. At first I drew different rims on paper and after that I made at least five different versions on Photoshop of the favorites. I had almost finished one rim type but, since it wasn't really pretty, I had to start all over again. The blueprints were made with Photoshop as well.


As you can see the materials and texturing still need work. I have made a little changes to the tyre after this render. It doesn't look like it's going to explode anymore like in the picture above.


Finally, a test render of how the thing looks like in blue. The material is a preset with small changes to the scale of the flakes. You can see there are some problems with the geometry in the trunk lid. The trunk looks a bit too soft and the highlight has an odd dark spot inside the register plate inset.